HDR lighting can make a huge difference to the realism of your scenes, and takes less than two minutes to set up. Here’s how you do it.


The benefits of HDR panoramic lighting are particularly obvious when there are reflective objects in your scene
- HDRLabs has an extensive collection under a Creative Commons Attribution-Noncommercial-Share Alike 3.0 License, completely free.
- HDRMAPS.com has a smaller freebies section, but are higher resolution and are free to use, even commercially.
- I recently shelled out on a set of even better quality panoramas, which I would highly recommend. They come in at less than a buck each, but this resolution is only really necessary for resolutions of 1080p or higher, where standard-resolution panoramas start to look blocky.
Now, in cycles, under the world settings click “use nodes”:
Now click the little circle next to “Colour” and select “Environment Texture
Next, click “Open” and find and select your downloaded texture.
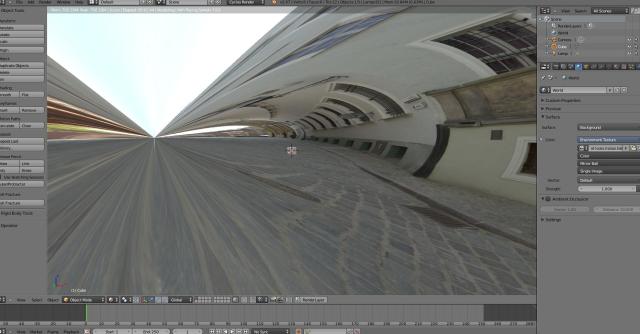
Select your viewport to show “rendered”. If you see something strange like this:
Then you need to change the way the image is wrapped. Find where it says “Mirror Ball” in the world settings and change it to “Equirectangular”, or vise versa:
And there you should have it, environment mapping which will also be visible in the viewport!


